

Reserve an instance
1
Login to your Hyperbolic account
Log in to Hyperbolic and select GPUs from the navigation. Browse the GPU capacity currently available in the platform.Don’t see the capacity you need? Contact Sales for additional capacity.
2
Choose your GPUs
Select the GPU type you want and select the GPU Count. Available reservation terms and discounted rates will appear below.Longer reservation terms have lower rates.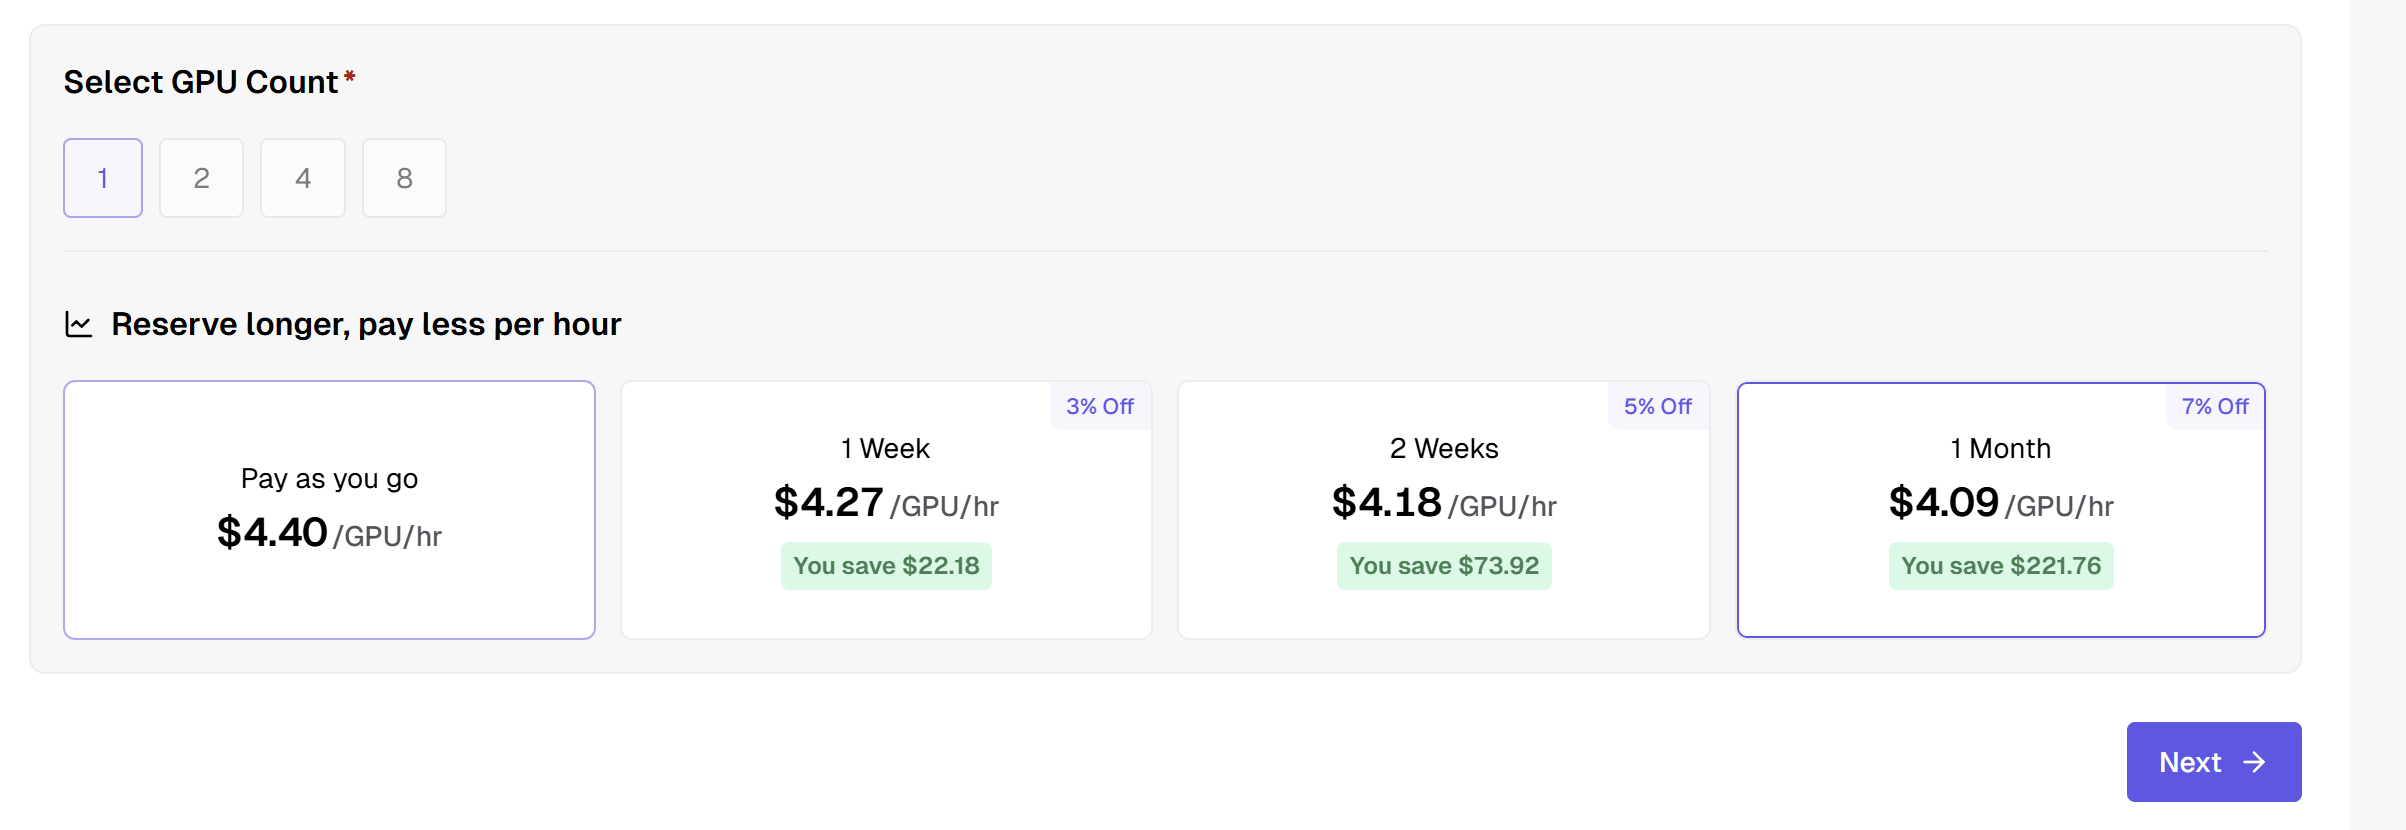
3
Select a reservation term
Choose the reservation length that works for your workload. Review the rate and reservation details, then continue to the SSH Public Key step.Reserved instances are paid up front, so your balance must cover the full reservation cost.
4
Add your SSH public key
Enter your SSH public key and complete the instance configuration.When you’re ready, click Start Building to create your reserved instance.
5
Run your workload
Your reservation begins when the instance is ready and runs for the full reservation term. The instance is automatically terminated when the reservation ends.Save any data you need to persistent storage before the end of your reservation.
Have a large or long-term commitment? You can also work with our team directly. Contact sales to discuss volume pricing and terms.