

When to use an Organization
- Your team shares a compute budget and wants one balance to fund and monitor
- Multiple people need to launch, monitor, or terminate the same instances
- You want infrastructure to survive personnel changes rather than living in one person’s personal account
Create or join an Organization
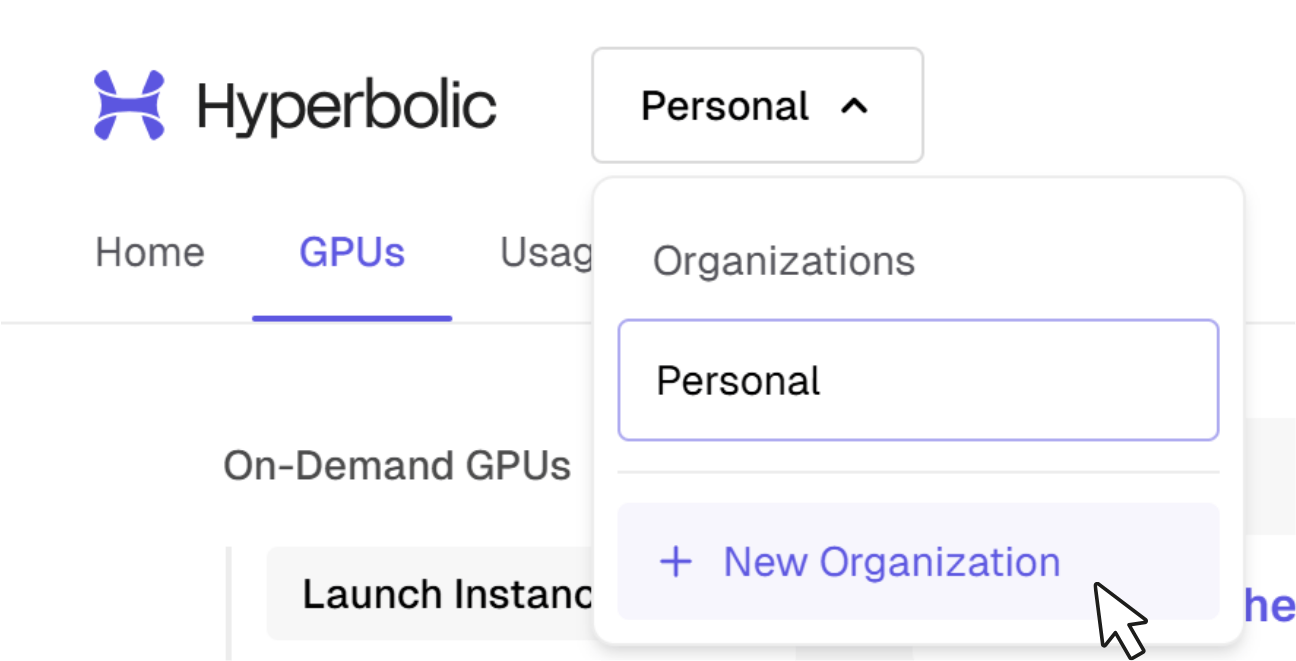
- Open the top-left menu in your dashboard — you’ll see your Personal workspace and a New Organization option.
- Create the Organization, then invite your teammates by email.
- Switch between your Personal workspace and Organizations from the same menu at any time.
Roles and permissions
Organizations have two roles.
The person who creates the Organization is its first admin. Every API key created while working in an Organization belongs to that Organization and is attributed to the member who created it. Members can revoke only the keys they created; admins can revoke any key in the Organization.
SSH keys
An Organization has its own SSH keys, separate from members’ personal keys. Manage them under Organization Settings > SSH Keys while you’re working in the Organization. When you rent an instance under an Organization, you can only attach Organization SSH keys. Personal keys aren’t available in the Organization’s launch flow.- Add a key: paste a public key or drag and drop your
.pubfile. Every member can see the key and attach it to their rentals. - Copy a personal key: the Copy a personal key section lists your personal keys that aren’t in the Organization yet. Click Copy to organization to add one to the Organization’s list.
- Rename or delete a key: members can rename and delete the keys they added. Admins can rename and delete any Organization key.