

Getting Started
Create your account
Sign up for Hyperbolic, then verify your email address. Check your inbox for a verification email and click the link to activate your account. Once verification is complete, you will be able to access the Hyperbolic platform.
Add payment
Before launching GPU instances or using Inference, add funds to your account.Go to Billing → Add Funds, or click the Deposit icon in the top-right of your dashboard. Add at least $5.00 to your balance, then complete your payment through Stripe.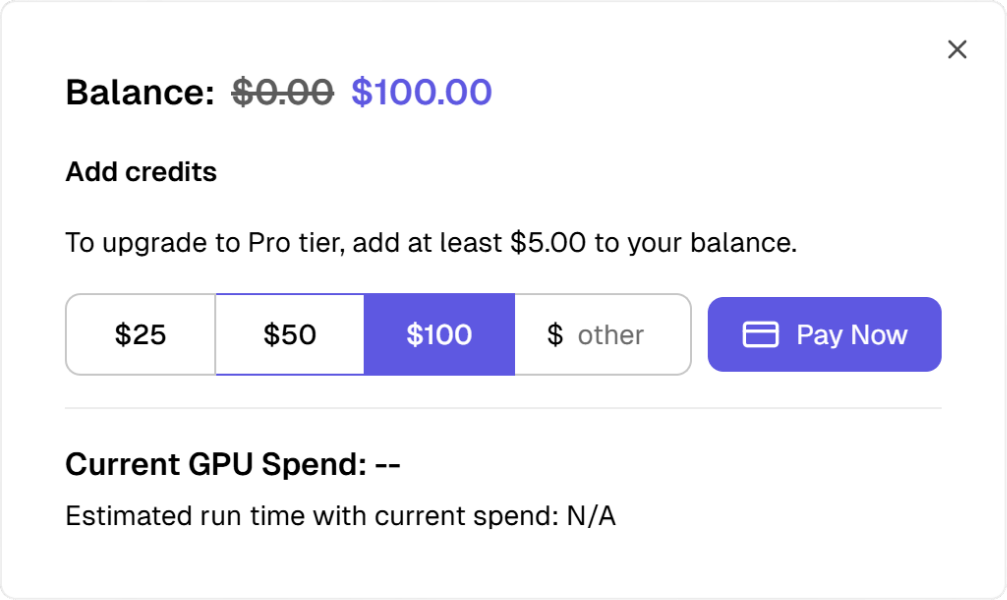
Enable Auto Top-Up (Optional)
Enable Auto Top-Up (Optional)
Set up automatic reloading to ensure uninterrupted service:
- Go to Billing → Auto Top-Up Settings
- Set your minimum balance threshold (e.g., $20)
- Choose auto-reload amount (e.g., $50)
- Save your preferences
Add your team
If you are working with a team, create or join an Organization before launching workloads.Organizations let teammates share access to the same workspace, billing balance, and infrastructure usage. After creating or joining an Organization, invite your teammates so everyone can manage resources from one account instead of using separate individual accounts.You can manage Organizations from the top-left menu in your dashboard.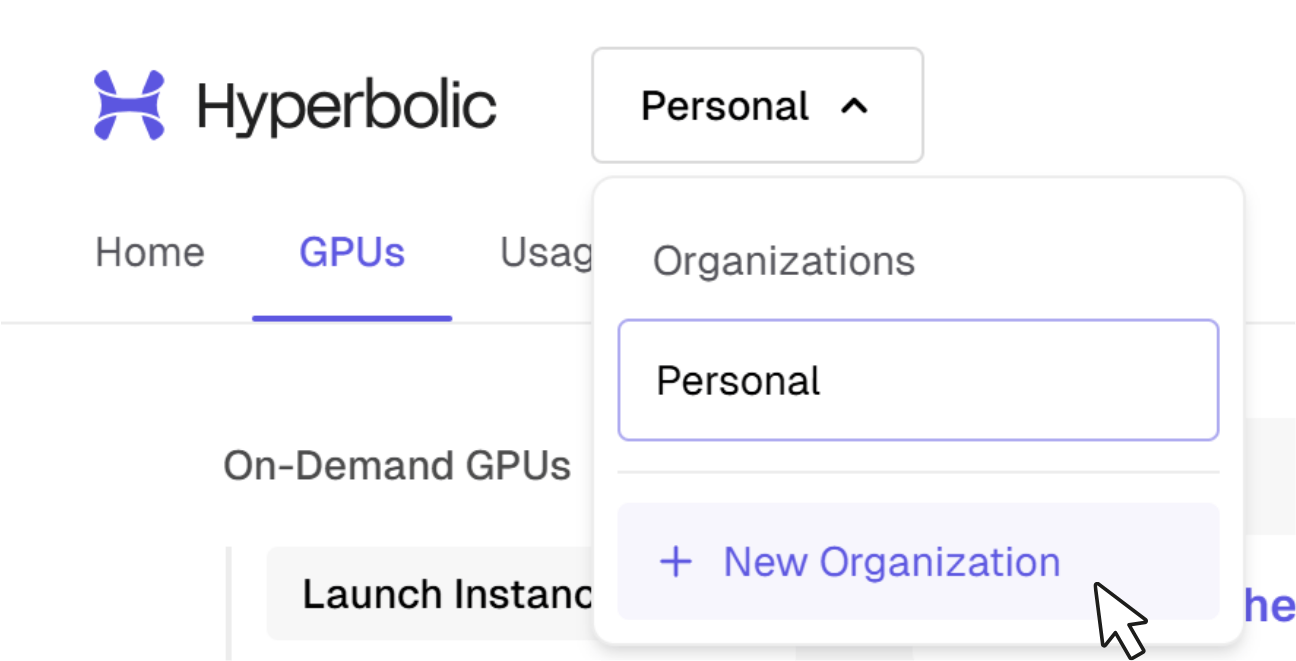
Choose your path
Select the product that matches your workload:
- Need flexible GPU access? Start with On-Demand GPUs.
- Need predictable capacity at a lower rate? Reserve it self-serve with Reserved.
- Need dedicated, custom-built infrastructure? Contact the team about Private Cloud.
- Need API-based model serving? Use Inference.
Start building
Launch workloads, test infrastructure, serve models, and scale into reserved or dedicated capacity when your requirements become predictable.Follow the quickstart for your path:
- On-Demand GPU Quick Start — launch your first GPU instance
- Inference Quick Start — call the API in minutes
Launching a GPU instance requires an SSH key on your account. Add one in your account settings — see Account Management for details.
Platform Capabilities
Flexible GPU Access
Start with on-demand GPU instances, then move into reserved or private infrastructure as workloads scale.
Inference API
Serve models through API-based inference when you do not need to manage GPU instances directly.
Production-Scale Infrastructure
Support training, fine-tuning, inference, and production AI workloads with infrastructure that can grow with your team.
Ready to Build?
Choose the infrastructure path that matches your workload today, then scale as your requirements become clearer. Useful links:- Dashboard — manage instances, billing, and organizations
Need Help?
- 📧 Email: support@hyperbolic.ai
Common Issues
Credits not showing after payment
Credits not showing after payment
- Credit card payments appear instantly
- Contact support if credits don’t appear within 30 minutes
SSH connection refused
SSH connection refused
- Ensure your SSH key is added to your account
- Check instance is in “running” state
API rate limit exceeded
API rate limit exceeded
- Free tier: 60 requests/minute
- Pro tier: 600 requests/minute
- Enterprise: Unlimited
- See Rate Limits for details